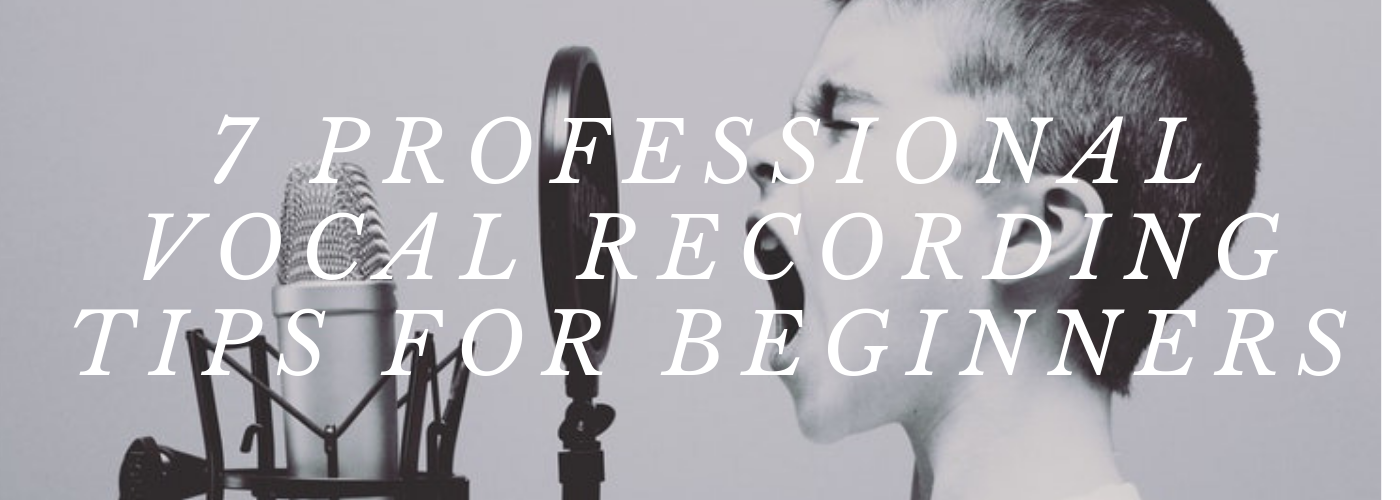
Learning how to record vocals at home for the first time isn’t an easy task, no matter which way you look at it. There’s a lot that goes into the room setup, a lot that goes into equipment selection, and a lot that goes into the actual recording part of it.
When you add everything together, it can get a bit overwhelming to start home recording from scratch. It’s almost expected that everyone messes it up their first time. However, these vocal recording tips for beginners can help you learn how to get a good track without the difficult learning curve.
1. Buy a Microphone
This topic is WAY too big to fit into this article, so let’s just say that buying a microphone takes a lot more time and research than you might think. Every vocalist has a microphone that they like to record with but it can be difficult to know how to start the search for your ideal microphone.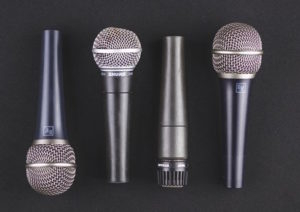
Thankfully there are plenty of resources available for buying a vocal microphone and other beginner recording studio equipment.
2. Set Up A Recording Space
Learning how to set up your space properly before recording vocals is an aspect many beginners overlook. However, doing so can add a noticeable, professional edge to your project.
Home Recording Studio Setup: The Complete Anatomy ????♬♪♫→ https://t.co/VLE7BnDkzN | via @GuitarChalk #tech #audio #recording #studio #sound pic.twitter.com/79REbBrmFR
— Beyond Static (@beyondstatic) January 14, 2019
Look up how baffles and panels can keep the noise down. Don’t focus on soundproofing since you can just control the noise in your house. Instead, research how to manage echo so your vocal track will record clean.
If you’re looking to learn more about properly setting up your space check out this in depth article.
3. Get a Pop Filter
One of the biggest issues the beginner runs into when learning how to record vocals is sibilance. The easy solution to solve this problem is to use a pop filter when tracking.
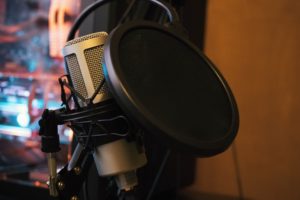
Pop shields – or pop filters- stop the air coming from your mouth before it pushes the microphone diaphragm down, which leaves a loud pop on the track. Pop shields are cheap to buy and easy to make.
Once you try one you’ll discover how easy it is to get a quality vocal recording at home.
4. Place Your Microphone
Depending on the model, your microphone might be angled or straight, close to your face or far away from it. The official guidelines for a microphone, though, don’t work for every vocalist when recording.
Once you figure out how it’s supposed to be placed, make slight changes to see if your vocal recordings sound any better. It’s always better to trust yourself over the recipe.
5. Use A Shock mount
Another common issue the beginner may run into when learning how to record is a lot of low end content in the vocal track. This isn’t something that was sung but a low end muddy buildup below the vocalists register.
It’s often the result of external sources such as a vehicle passing by or a foot tapping and shaking the microphone.
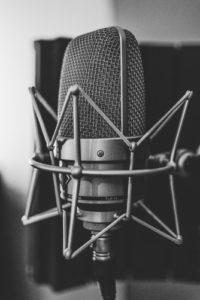
The easiest solution to this issue is to use a shock mount when recording. This suspends the microphone and makes it less prone to external vibrations.
6. Sort Yourself Out
 You wouldn’t try playing a guitar upside down. In the same way, your body is an instrument and it plays best with proper posture.
That said, the proper posture for singing is weird: you want to be relaxed, but also perfectly upright. This is something you can only manage it if you practice. Also, core exercises don’t hurt either.
Ideally, you want to be sitting or standing with perfect spine alignment, relaxed back and neck muscles, a level chin, sloping shoulders, and loose knees. If you can’t do it, relaxed muscles are more important than getting your spine right.
Once you perfect these beginner techniques you’ll be surprised at just how easy it is to deliver a proper vocal recording.
7. Check Your Levels
Learning how to monitor recording levels is key when tracking vocals or any other instrument. To do so, record a track of silence, then listen to it back.
If there is any hiss on the track, this is likely electrical interference in the cord that is amped. Adjust your levels until the hiss disappears and that’s your minimum level for recording.
If you discover that your vocal recordings sound too quiet at your minimum, you will need to learn how to sing louder.
Conclusion
In conclusion, the following should be considered if your a beginner interested in learning how to record vocals for the first time:
- Buy a Microphone
- Set Up a Recording Space
- Get a Pop Filter
- Use a Shock Mount
- Place Your Microphone
- Sort Yourself Out
- Check Your Levels
Above all, take it easy on yourself! No beginner is a fan of their first few vocal recordings and it’s important to learn how to accept that this is okay.
All your first tries will help you learn how to become a better recording artist and vocalist. Just keep trying new things and adding to your home studio until you get it right. We hope these vocal recording tips for beginners help you on your way to success!
If you’re looking to learn more tips and tricks about home recording head over to the Sundown Sessions Blog.

