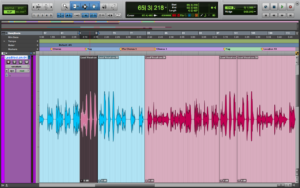
One of professional recordings best kept secrets is vocal comping. The vocals in a professional recording often sound flawless compared to those that come out of a home studio. This was frustrating when I first started into recording vocals. I couldn’t figure out why my work never sounded as perfect as those in commercial productions.
Comping vocals properly can be a time consuming process but it’s well worth the effort in the end!
There are a number of factors that contribute to this sound. However, after a long time I soon realize that a primary reason my recordings didn’t hold up to commercial standards. I wasn’t taking enough the time for proper vocal comping.
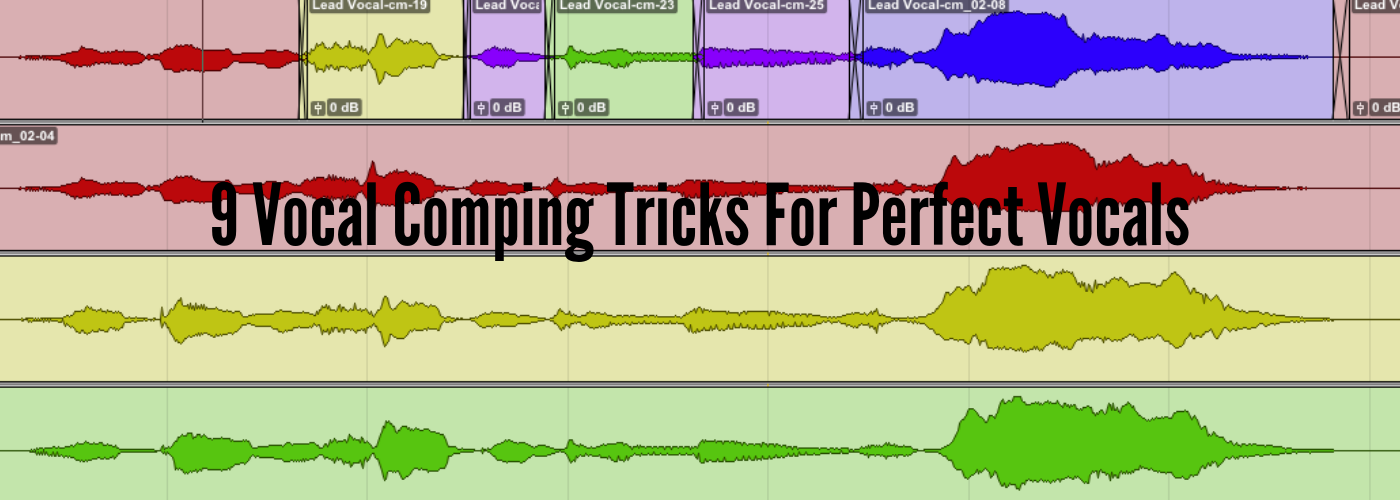
Comping vocals is when the producer or engineer will record several vocal takes of the same part. They then cut together the best pieces of each into a single flawless take. Time seems easy enough in theory. However, when approached from an amateur standpoint there are a number of areas a vocal comp can fall short.
Vocal comping has the power to make or break a track so it should be done right. To help you bring your vocals to the next level, I’ve compiled a list of useful tricks that I use to create a smooth and consistent vocal track on all my recordings.
1. Make Notes and Improvements During The Recording Phase
Many people think that because they’re recording multiple takes, creative choices shouldn’t be made until the vocal comping stage. This is actually a counterproductive approach as it can add a lot offline extra time onto your post production work. It also means you may not discover you’re missing a critical part of the vocals until it’s too late to redo it.

Taking comping notes during the recording stage is a great practice to quicken your workflow down the road.
The best practice to avoid situations like this is to actively listen and make notes during the recording stage.
While recording I usually have the lyrics for the song in front of me. I’ll use a rating system to dictate which lines were sung well and in which take they can be found.
Doing this give me starting point of which vocal takes to compile when I later begin to do the comping. Not only that but it also allows to see if there are parts of the song that need to be redone. So, nothing is missed while recording.
2. Don’t Record Too Much
In the days of analogue, tape cost money and number of tracks were limited. So, this was an easy rule to follow. Nowadays, it’s easy to get carried away, recording far more takes than actually necessary to create a perfect vocal comp.
Try to get four to six vocal takes that are performed very well as opposed to twenty mediocre takes. Don’t be a hoarder and save bad takes “just in case” either. If you’re confident that there’s nothing you can use in a take just delete it and try again. This saves you the headache when comping the vocal of sorting through tons of tracks that all have the same mistakes in them.
Also, don’t feel the need to record a bunch of straight takes of the entire song. If the singer nailed the verses in their first two tries, don’t wear them out by having it sung again. Instead just do a couple extra takes of the choruses and focus on perfecting that section.
3. Strike A Balance Between Technical and Emotional Content
Once you get to the vocal comping stage and are deciding between takes keep in mind the importance of emotional deliverance versus technical aspects such as the singer’s pitch. I personally will value a powerfully sung line over one that is perfectly in tune.
Obviously it’s important your singer isn’t horribly off, if so you have a problem no amount of work can fix. However, pitch correction software such as Melodyne can fix minor tuning flaws.
Melodyne pic by @hancelthehitman.
Source: https://t.co/YcT82eIQgo pic.twitter.com/rxiRKW9eF9— Celemony Software (@Celemony) September 21, 2018
Melodyne is the industry standard for pitch correction. It’s a great tool when comping a vocal that has strong emotional content but is off pitch.
There’s no plugin out there yet that adds emotion to a performance however. So, bear that in mind when comping your vocals.
4. Quicken Your Workflow With Key Commands
Comping a vocal or any other instrument can involve a ton of repetitive motions. This includes selecting take lanes, soloing them and placing them into your main vocal comp.
Some DAWs offer a better workflow than others. However, going through the whole process using your mouse for every action will slow you down immensely.
Editing is my least favourite part of recording. So, I’m always looking for ways to speed up my workflow to get past the boring stuff. The best way for doing this has always been to control my DAW with keyboard as much as possible.
No matter what the task may be, if I find myself going to my mouse to do something, I’ll immediately do a quick Google search to find out if it can be done with a key command.
Stuff like this slows you down at first as you learn but will make you quicker in the long run. I won’t get to deep into specific key commands as every DAW operates differently. However, Pro Tools users can check out this useful video below.
This only begins to scratch the service of the key commands possible when vocal comping. I highly encourage you to dig deeper and spend some time researching what options are available in the software you use.
5. Make a Compiling Pass and a Cleaning Pass
For me, vocal comping is a two step process. First I’ll go through the song and select favourite lines from each section to place in my main vocal take.
Once I’ve gone through the entire song I’ll make another pass just looking at my main vocal comp. At this point I’ll smooth out my edit points into one clean take.
When working this way allows me to avoid losing focus, concentrating on how each line sounds compared to the previous. I also myself moving quicker as my brain doesn’t have to change gears back and forth so much.
This is personal preference however and you may find another way that’s more suited to your vocal comping style. It’s all about what lets you work the most productively and get the best results.
6. Cut On Silent Parts or Sibilant Consonants
When cutting between takes try to make edits as transparent as possible so that it sounds like one smooth take. Making your cuts in the empty space between the singer’s words is the best way to do this.
Sometimes however, the singer’s words flow into each other in a spot where you need to switch takes. This can be difficult to do so cleanly. In this case, your second best bet is to look for sibilant consonants such as Ts and eses to cut on.
These types of constants have no real character or pitch to them making it easy to fade from one into the other transparently.
Other consonants will also allow you to achieve similar results. So, if the two mentioned techniques are not possible for your situation, feel free to experiment when editing.
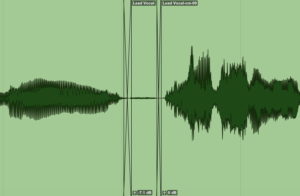
Finally, always make sure to add even a small fade between any two clips. Also, a fade in and fade out at the beginning and end of all clips. This keeps things smooth and avoids any unwanted artifacts from occurring at your edit points.
7. Grab From Another Part of The Song When Comping
When dealing with repeating sections such as a chorus you sometimes may not like how the singer executed any of the takes in one section. In this case you may be able to grab the same line from another part of the song.
I try to avoid comping in a way that the same deliverance of a line is heard twice and make sure that each repeated section is a unique take, even if it comes from the same place in the song.
However, some producers repeat the exact same take in every chorus for an even more symmetrical and pristine sound. Try both techniques and see what you prefer.
8. Don’t Remove Breaths in a Vocal Comp
An amateur mistake that’s often made when comping vocals is to remove all breaths in the editing phase. Though this may seem like a good idea at first it actually makes for a very unnatural sounding vocal track.
People are used to hearing someone breathe in as they prepare to sing a line of music. Without that initial breath the voice comes in unexpectedly and the listener may feel like something’s off about the vocal without even knowing what it is.
That said, some singers will also breath an unnatural amount when singing. Also, in more fast paced songs, too many breaths can get in the way of the lyrics. In these cases, use your better judgement removing breaths, but not so many that the vocal loses its human element.
One issue that natural breaths can still present where a vocal will be heavily compressed during the mixing stage. This processing can amplify breaths to the point where they’re almost as loud as the lyrics, distracting to the listener.
Because of this, it is good practice to split the clip at breathes and turn those portions down. This way they will be present but also stay at an acceptable level. Some engineers even prefer to move the breaths to a track of their own so that they can be processed independent of the rest of the vocal comp.
9. Use Clip Gain To Even Out a Performance
Over the course of a recording session the vocalist will usually vary the volume at which they sing. When vocal comping, this can lead to an inconsistent sounding take as the engineer cuts between soft and loud lines.
To avoid this, I will often use my DAWs clip gain feature to adjust the levels of each individual take, creating a more even performance.
I’ll usually do this after sorting through and cleaning everything, once again with intentions of keeping my workflow moving quickly.
Below you can check out a video that delves into the details of using clip gain in Pro Tools, most other DAWs also have a feature that is quite similar to this.
Conclusion
Vocal comping shouldn’t be an excuse for lazy producing during the recording stage. Never have a singer simply “sing it again” without giving any additional notes. If you have no notes, there’s no reason to record an additional take.
Focus on coaching the singer through the best performance possible while making notes on which takes you prefered. Then while comping and deciding which takes to use consider both the technical and emotional aspects of the vocalists deliverance.
Finally, increase your efficiency at creating amazing sounding content and focus on the music being performed by looking for ways to speed up your workflow.
Hopefully all these tips help you with your vocal comping, bringing you one step closer to perfecting your home recordings.
If you’re interested in other aspects of vocal recording, check out more tips and tricks at the Sundown Sessions Blog.

